.jpg)
Well, I hope you enjoyed the Neon Pink Party Table post here and picked up a few tricks and ideas. I also hope I didn't come across as being too mad for throwing the party just because. Although, thinking about it now, what better reason is there?!
So, let's keep the pink madness going and talk about the food. Pink polka dot food to be exact!

When I'm throwing a party just because, or have a limited budget or timeframe for so many other reasons, I like to follow what I call The Highlander Rule - There can be only one. One showstopper to spend my time and money on, that is.
In this case, it was a real raspberry mud cake with coconut ganache and handmade giant chocolate buttons. Sound good? It was! And the recipe and instructions are below.

And since I never do anything by halves, and in the real world there might be someone who fancies something other than cake, I wanted two other quick sweets to finish off my table. Pink polka dot sweets to be exact.
The first were some vanilla iced brownie dots, made by simply baking a tray of the best brownies ever, icing it with some ready made vanilla icing, cutting out circles with a round cookie cutter and covering them with pink and white sprinkles.

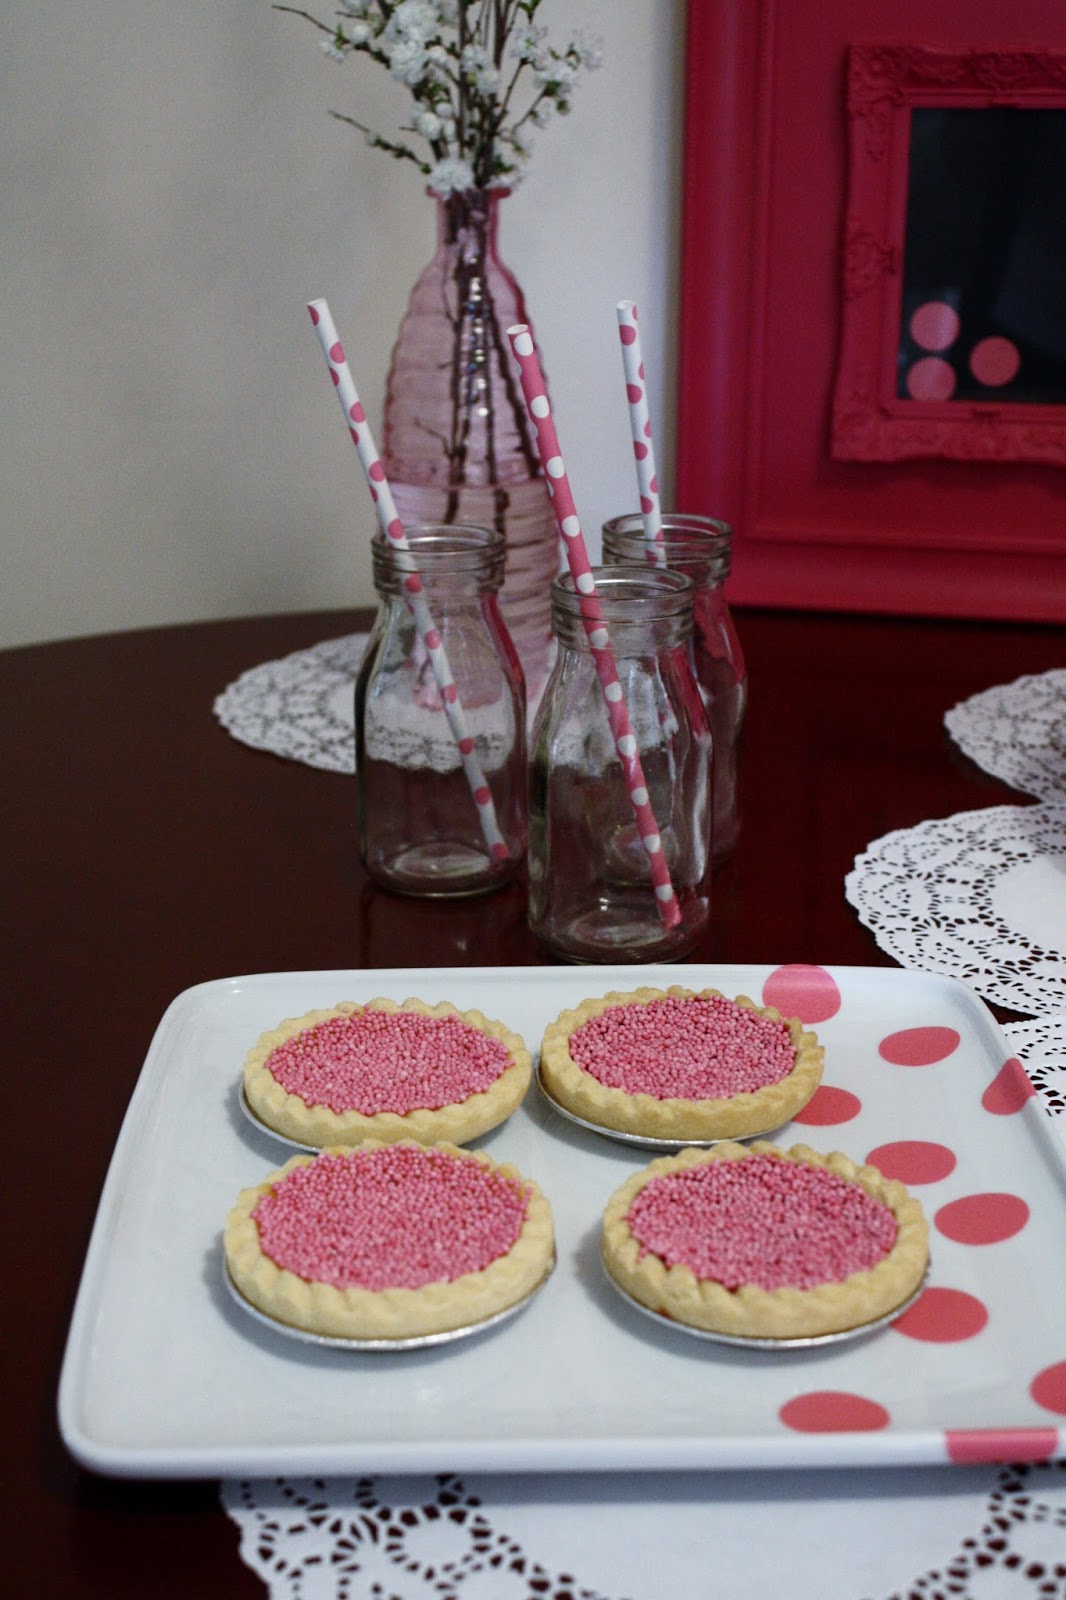
And even easier, I made some sprinkle tarts by buying ready made raspberry and lemon ones from the supermarket and covering them in pink sprinkles. You want budget? I've seen those tarts at Woolies for $3 for two packs of six. A box of sprinkles is $2. That's $5 for a quick sweet for my Party of 11. And I think they look great. If I do say so myself!
So I did it. Pink polka dot food for the neon pink polka dot party table. And all before I sent myself dotty as well!
Real Raspberry Mud Cake with Coconut Ganache
This recipe makes two shallow 20cm cakes for stacking, and enough ganache to cover the whole thing. The raspberry and coconut flavours are subtle, so if you want a bigger hit, spread the bottom cake with raspberry jam and dessicated coconut before adding the top cake.

Ingredients
Cake
230g unsalted butter
200g white eating chocolate
2 2/3 cups caster sugar
1 1/3 cup milk
2 cups plain flour, sifted
2/3 cup self raising flour, sifted
1 teaspoon vanilla extract
2 eggs
2 cups raspberries, mashed (or use 1 cup raspberry puree if you have it, or prefer to remove the seeds)
Ganache
440g (2 blocks) white eating chocolate
3/4 cup coconut cream
Giant Chocolate Buttons for Decoration
150g white eating chocolate
food colouring
sprinkles

Instructions
Cake
- Preheat the oven to 160 degrees Celsius and line two 20cm baking tins with greaseproof paper.
- Place butter, white chocolate, sugar, and milk in a saucepan and stir to combine over low heat. Then remove from heat and allow to cool.
- Mash raspberries until smooth (or push through a sieve if you want to remove the seeds).
- Once the chocolate mixture is cooled, whisk in flours, vanilla extract and eggs. Stir in raspberries.
- Half mixture between the two tins and bake for 1 1/4 hours, or until a skewer comes out clean.
- Once baked, remove and cool completely before spreading with ganache.
Ganache
- Break chocolate into small pieces and place into a bowl.
- Place coconut cream in a microwave safe jug or bowl, and microwave for approximately 2 1/2 minutes until it starts to boil.
- Immediately pour boiling cream over the chocolate and leave for 1 minute. Then, stir mixture until combined. (If all of the chocolate fails to melt, place the whole mixture into the microwave for 30 seconds at a time. Check and stir until combined)
- Once combined, place ganache into the fridge until it reaches a spreadable texture.
- When the cakes are cooled, even the tops off them and place one on a cake stand or plate, upside down so that the smooth side faces up.
- Spread with ganache over the top and place it into the fridge until ganache hardens slightly.
- Then, remove from the fridge, place the second cake on top and spread the remaining ganache over the whole of the cake.
Decoration
- Trace circles of the required size onto baking paper. Turn the paper over and lie it flat on a tray.
- Melt the chocolate and place it into an icing bag with a small tip. (Alternatively, use a plastic squeezy sauce bottle with a small tip, or a sandwich bag with a small corner cut off)
- Outline traced circles on the baking paper and fill in the centres. Then refrigerate until chocolate is hardened.
- To make coloured buttons, add food colouring to the melted chocolate and stir well before piping circles.
- To make sprinkle buttons, pipe the chocolate onto the paper and cover with sprinkles before placing them into the fridge.
- Once the buttons are hardened, carefully remove them from the paper and place them onto the cake. If you would like them raised like the ones below, start at the back of the cake and place a few of the buttons on an angle. Hold them in place by putting a mini marshmallow or additional chocolate underneath them. Then rest the remaining buttons at the front at the same angle.

No comments:
Post a Comment